Getting started
Open Eagle
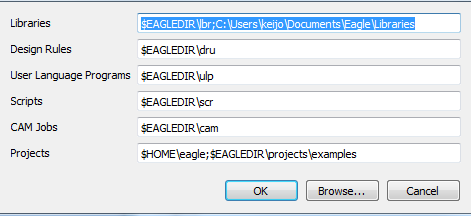
Open Directories, add the custom library location. Separate with semicolon.
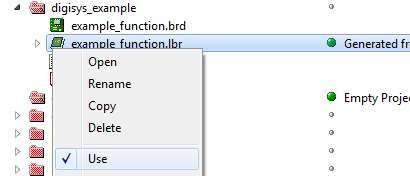
Eagle comes with set of default libraries which include wide variety of components. For removing libraries, right-click on the libraries folder and select “Use none”. To use a custom library in a project, locate the library and job fairs near me select use.

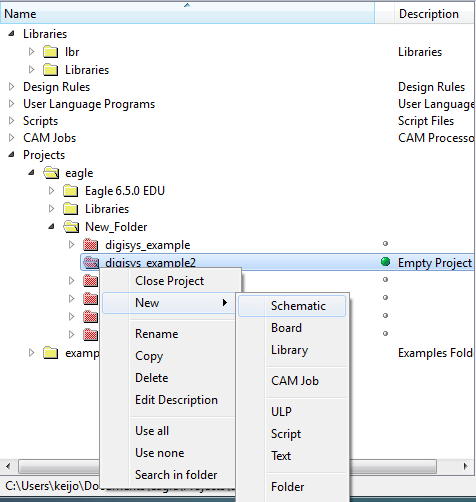
Create a new project, add a new schematic. This opens schematic editor. The newly created file will NOT save automatically, so save the file. CTRL + S.
Building a schematic
On the schematic editor window there are two main areas – tools and worksheet. In the worksheet use scroll wheel to zoom and and middle click to move in the schematic. Lets add a new component. Edit – Add…
For example we can search for NAND gate in the 7400 series. Searching in the components library in Eagle can be little tricky, because the very exact keywords are needed. We can overcome this by inserting the keywords between wildcards (*). This brings up more components related to the keyword.
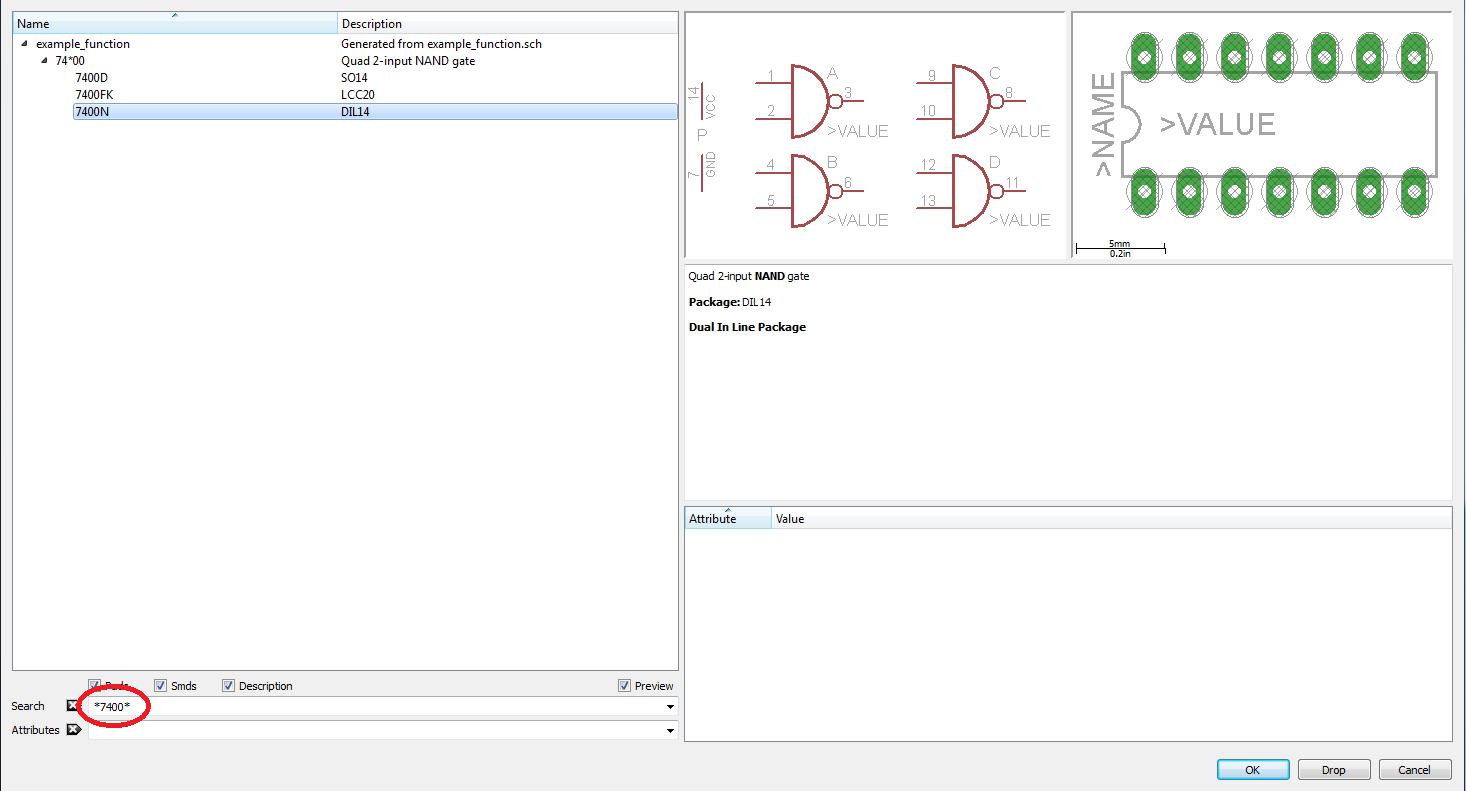
To place the component, select it and then click OK. Component can be rotated with the right mouse button. It is possible to add unlimited number of selected components, so when the desired amount of components are placed, exit the add-mode with ESC.
Creating a connection between the components can be done with NET tool, not to be confused with WIRE, which is used for drawing on different layers (technically can be used to draw net layer as well).

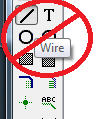
Connection can be left “hanging” by pressing ESC.

Naming a net is done with Name tool. This allows creating connections without actually connecting the wires on the schematic.

To see and place the name on the schematic use Label tool.

Verifying the connections is done with Show tool or by moving the component.
All the tools can be used on the individual components or on the component group. To select the group, use Group. After selecting the group, choose an action to perform on a group. Eagle also displays a helpful https://xjobs.org/ messages on the bottom right corner.
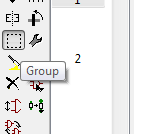

After finishing up the schematic, switch the view to board layout.

Board layout
Before anything else its recommended to use and set a grid. This sets the snap-grid for the components and wires. Alternative grid is accessed with holding down Alt. Notice the imperial units.

Start positioning the components onto the working area. Components are connected via airwires, which represent shortest possible way to connect two points. After moving the component into place hit Ratsnets command. This will calculate new airwires.

Placing components is crucial to smooth routing process and since there are no strict guidelines to this, here’s few tips:
- If possible group the components into functional blocks and route them
- Use ground planes
- Start with connectors and terminals at the edges of the board
- Good design tends to be symmetrical, but don’t compromise board size and electrical parameters
- Avoid round and 90 degree bends where possible
- Wider wires have less electrical resistance and inductance plus they are cheaper to manufacture
- Play around
Main tools of the routing process are Route and Ripup which do as they say.

While routing it is possible to switch the top and bottom layer route with clicking the scroll wheel. Changing the route mid-route creates via which is also accessible from the toolbar.
Most of the cases, it is recommended to use ground planes. This is accomplished by Polygon tool. Draw the polygon around the board, then use Name tool to connect it to a ground net. This makes routing much easier.
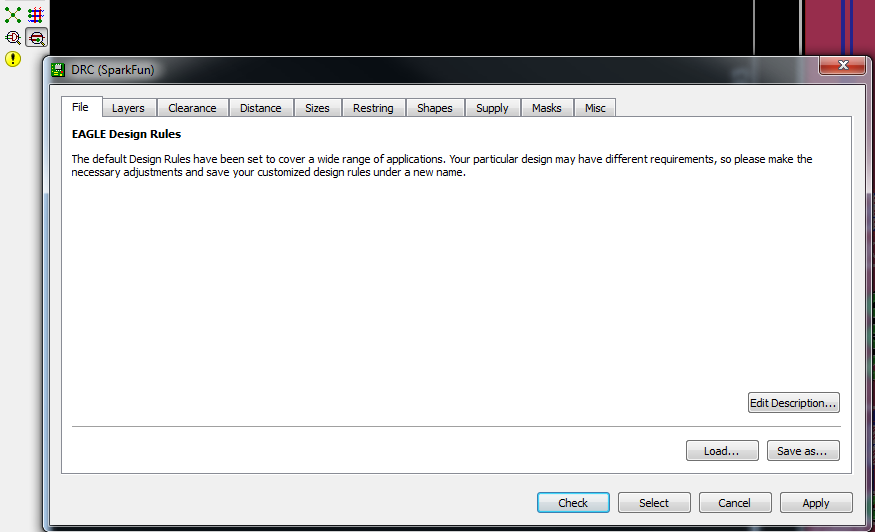
After routing everything the ratsnest command should output  . Now its time to run DRC or Design rules check. Load the .dru file and press Check. This will highlight overlapped routing, clearance and dimension errors.
About autorouter
Eagle comes packaged with autorouter which is free to use. Autorouting algorithms and techniques are very complex and sophisticated, but without proper configuration for the autorouter, the routing is by no means ideal. While sometimes it gives very good results for small areas of the board, the bulk of the design should be and is usually done by hand.
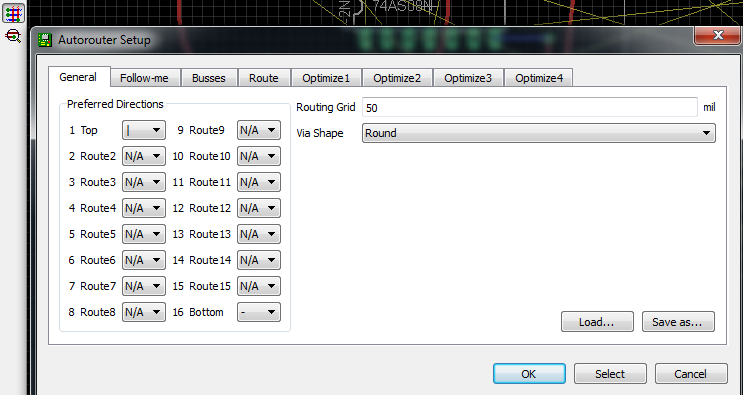
Last modified: 2020-09-26 10:24:13
